The key to loading accurate cartridges is uniformity. Accurate reloading takes a bit of know-how and is time consuming compared to reloading for plinking rounds. A reloader can search for hours on accurate reloading forums and come up with a thousand different ideas on how to produce accurate reloads. The info on this blog is simple, and easier to understand than anything found on an accurate reloading forum. Following these steps precisely is key to making uniform and consistent accurate reloads. These steps include case inspection, primer uniformity, basic brass maintenance, sizing the case, trimming the case, consistent charge weights, and bullet seating.
The first step in any reloading process is case inspection. Inspect each case looking for split necks, dents in the neck shoulder, split case walls, and head separation. Split case necks are a result of either a case has been exhausted by too many reloads, working up too hot of a load, or poorly adjusted dies. In any case, neck splitting will deem your brass un-reloadable and we will leave it at that. Dents in the neck shoulder are caused by using too much case lube, dirty dies, or both. Cases with dents in the shoulder are perfectly ok to use for plinking rounds, but do not provide accuracy. These dents cause higher than normal pressure in the case and will throw accuracy out the window. Weeding out cases with split walls is pretty easy, just be careful not to confuse an ejection mark (semi-auto) for a case wall split. Head separation can be determined by a light colored ring around the base of the case wall. This separation will cause a case to break apart often leaving 2/3 of the case in the chamber of your firearm. While this is more of inconvenience than a safety issue, it is better to just throw the case away than to risk it.

Lyman Primer Pocket Uniformer for Large Primer Pockets
The second step is to remove the primer by using a universal de-priming die so that the primer pockets can be made uniform. This is achieved by using a primer cleaning tool to scrape out any build up in the pocket. Once this is done, it is time to use a primer pocket uniforming tool. The cutting blades on this tool make a flat surface for the primer to seat into and make every primer pocket identical.
The third step to making accurate reloads is to clean your brass. Cleaning your brass is a preventative step. Brass that is dirty can cause an unwanted build up in sizing dies which will cause dents in the case neck shoulder. We personally recommend tumbling but wiping brass down with a simple cleaner works just as good.
The fourth step is to lube your brass. Lubing your brass is required to prevent stuck cases when sizing. Use a thin layer of lube around the case wall. Too much lube will cause build up in your dies and create dented neck shoulders. Also, do not apply lube to shoulder or neck of the case. Then take a cotton swab and apply a small amount of lube to the INSIDE of the case neck. This will prevent over stretching and premature splits in the neck.
The fifth step is to size your brass. There are two options for this. One is to full length size your brass which sizes the whole case, or to use a neck sizing die that will only size the neck. Full length sizing decreases the amount of reloads you can get out of a case; however, it must be used in semi-auto rifles. Also, if you are reloading the same caliber for multiple rifles, full length sizing must be used to ensure function in each different rifle. Neck sizing increases the number of reloads for a case but can only be used in bolt action rifles for a specific gun. When a case is fired, it is “molded” to the chamber of that specific gun. Neck sizing arguably increases accuracy.
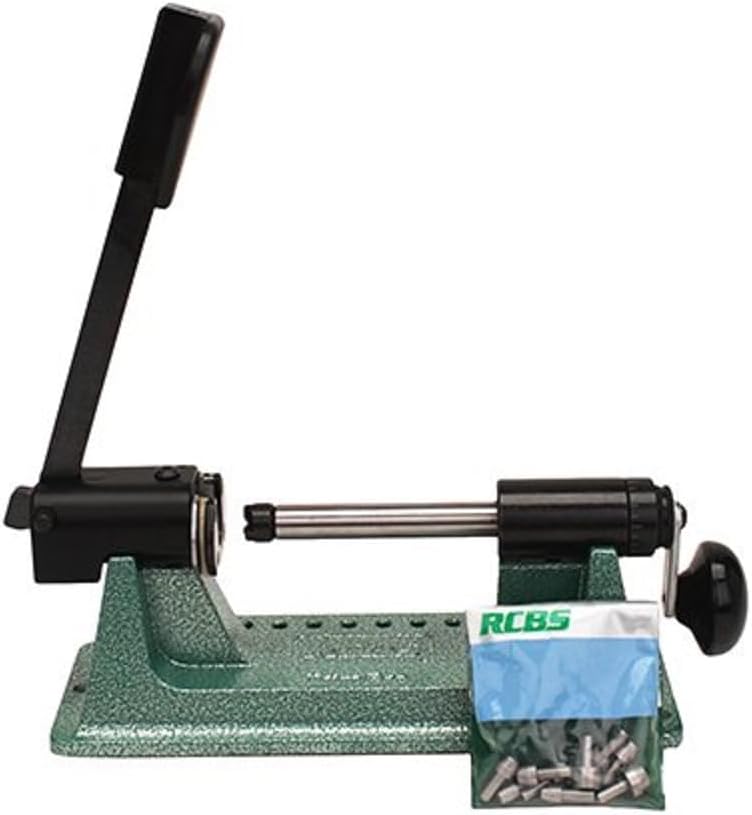
RCBS Case Trimmer
The sixth step is to trim your cases. Trimming should be done after sizing your brass. Each caliber has a listed maximum case length. This next part is especially important to making consistent and accurate reloads. IF all of your brass is OVER maximum length, set your trimmer for the maximum length specified in your reloading manual. IF you have brass that is under the maximum length, set your trimmer to the shortest length of brass you measured. For example, if maximum case length is 2.50, but the shortest case measures 2.48, trim each case to 2.48.This will make uniformity among the cases which means accurate reloads. After trimming is done, use a chamfer and de-burring tool to get rid of the sharp edges. Then use a brush (a bore brush that fits in the case mouth is fine) to scrape any shavings or lube build up out of the case.
The next step is to charge your cases with powder. Weigh out every single charge to desired grain weight. A quality digital scale is the most efficient way to do this step. Caution, using a powder measure will provide charges that are slightly off by .1 or .2 grains, which will make every single step that you have taken leading up to this one meaningless. Remember, velocity does not mean accuracy. Start out at the low end of a powder load listed in your reloading maual and work up from there. Each powder company has reloading data specific to their powder. Using their information can prove useful for accurate reloading data.
And finally, we come to the last step, which is bullet seating. When it comes to accuracy, using match grade bullets are an absolute must. Once you have decided which bullet to use, inspect each bullet before seating onto the case. Weigh each bullet to make sure it is the proper grain weight specified on the box. Also, look for small dents and tiny chips on the bullet. We personally recommend using a digital caliper to make sure the bullets are completely round. Once this is done, you can seat the bullet onto the case, making sure each bullet depth is uniform to one another. Crimping is optional but you made it this far, so you might as well do it!